Fixing the Jig
The four hull panels are fixed temporarily together with cable ties and then the seam is bonded with epoxy filler and tape.
All four panels are fitted together onto the jig before any joints are made.
The panels are also temproarily fixed to the mould to ensure they do now move during construction.
Bottom Panels
Begin by laying both bottom panels onto the jig. They can then be joined along the centreline with cable ties. At this stage do not overtighten the cable ties and allow for a little movement to allow final positioning later.
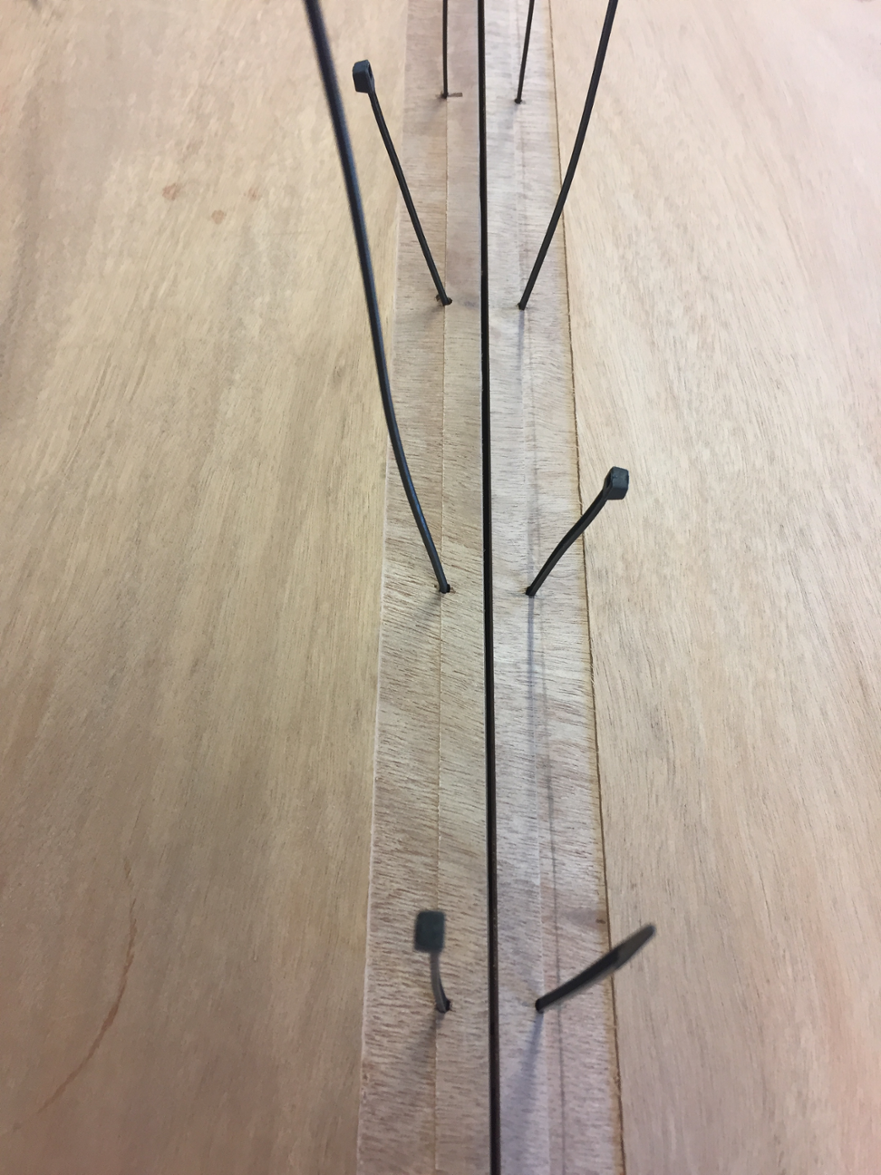
Start at the transom and position each side panel onto the jig. The jig has a lip that indicates where the panel should sit. Put a block fixed to the jig and a clamp or screw to hold the panels down to this lip. As you move forward the upward pull of the bottom panel will tend to lift the side up from the jig so this needs to be prevented.

Close the chines on both sides at the same time working forward. The side panels will close up all the way to the stem but the chine will get to a point where the plywood will not bend any more without a lot of force. When the side panels are completely in postion make sure they are fixed down to the jig at what will the the gunwahle edge before moving on to the next step.

At the bow screws can be used to temporarily fix the panels to the jig.
Bending the Bottom Panels

To get the compound curve at the stem steam is used to make the plywood more flexible.
The simplest way of doing this is to use a wallpaper stripper. Keep moving the steaming plate around the plywood and gently push the panel down. Tighten the cables ties as the joints close up together.
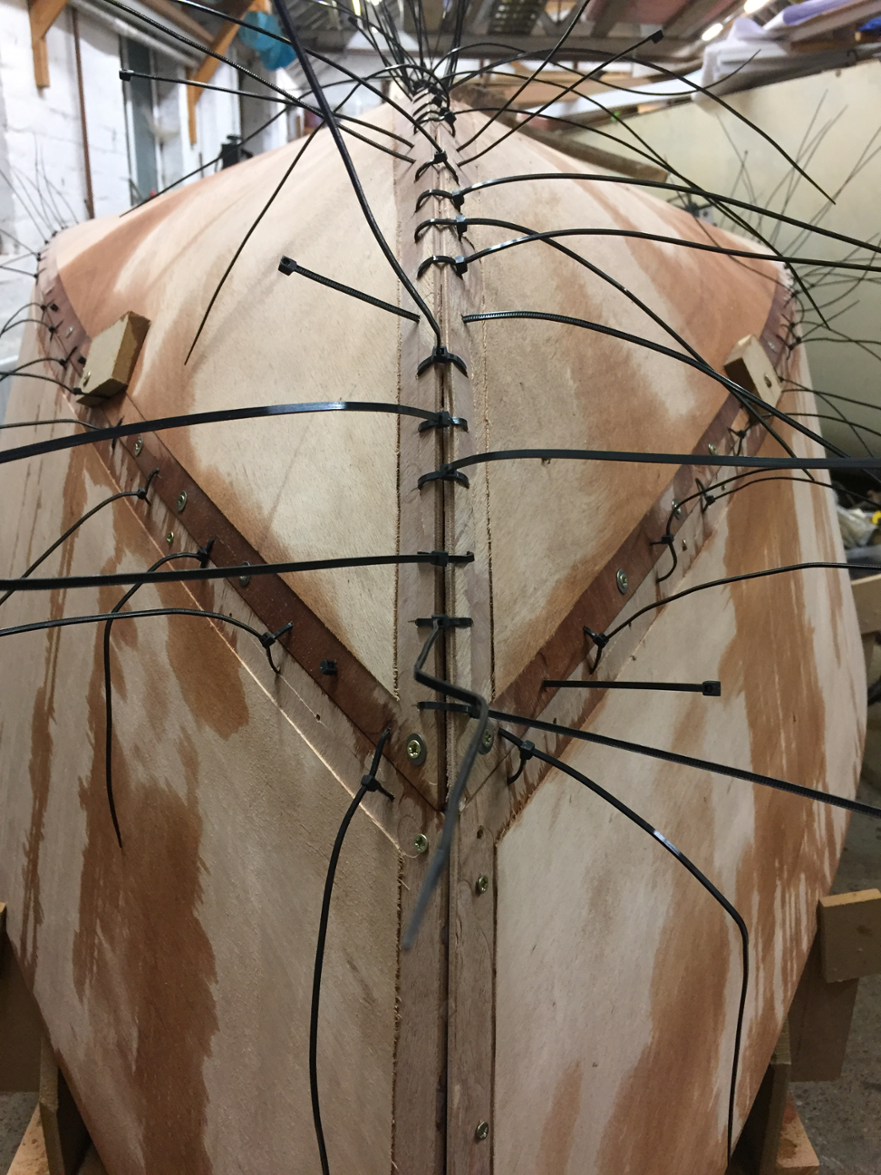
As you move towards the stem the panels will tend to give too much resistance to allow the cable ties to close the joint. Make small blocks of mdf or ply and use these to hold the two panels together by putting them inside and putting screws thoruh the chine. The holes will all be later covered with glass tape.

View inside the hull showing the blocks with screws through the chine to force it together.
Due to the curve in the plywood the bottom panles may also tend to lift from the jig at the centrelein. Again screw blocks to the moulds and screw down with a block to make sure the panles are down to the jig.
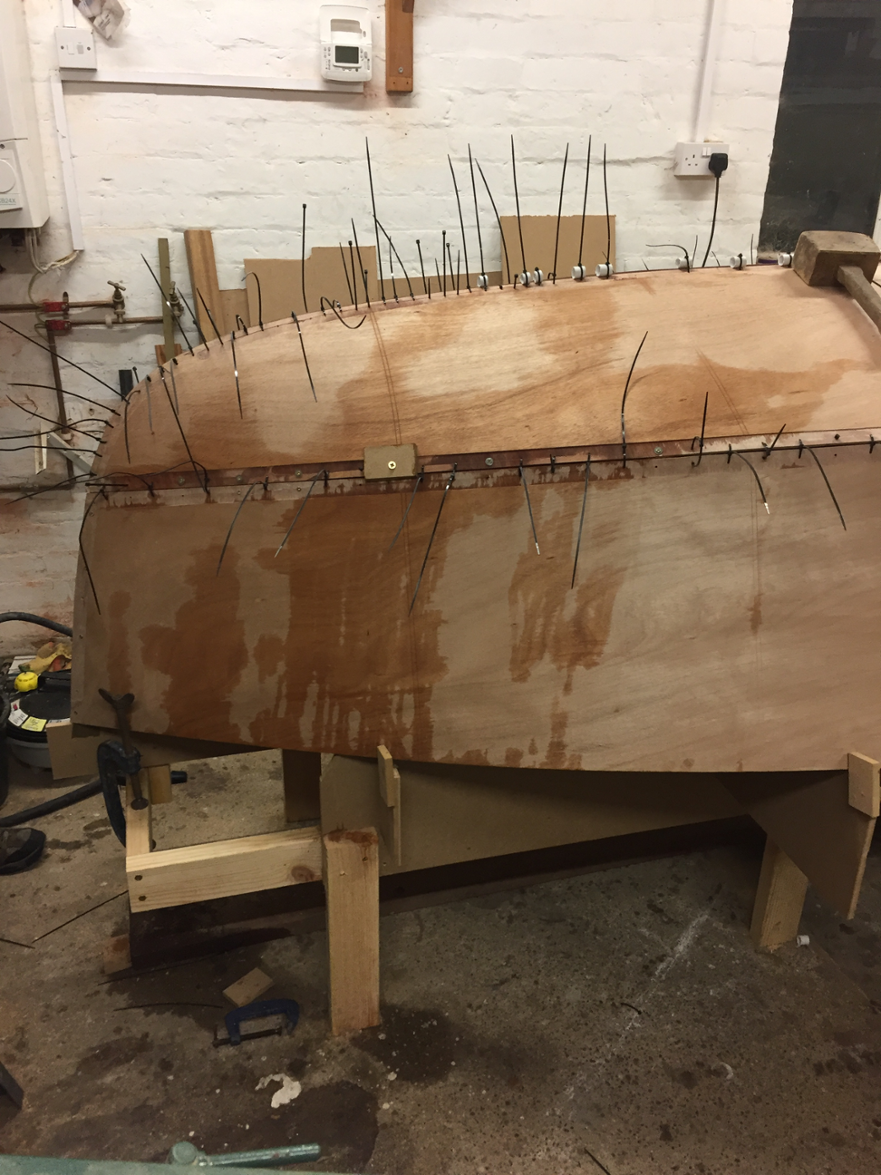
The panels all in place. After the ply has cooled check all the seams and make sure the joints are closed. Any cable ties that are not now under laod can be removed ready for taping.

The transom panel goes on last. The angle is set by the jig. Make sure that the joint is 'corner to corner' and not overlapping.
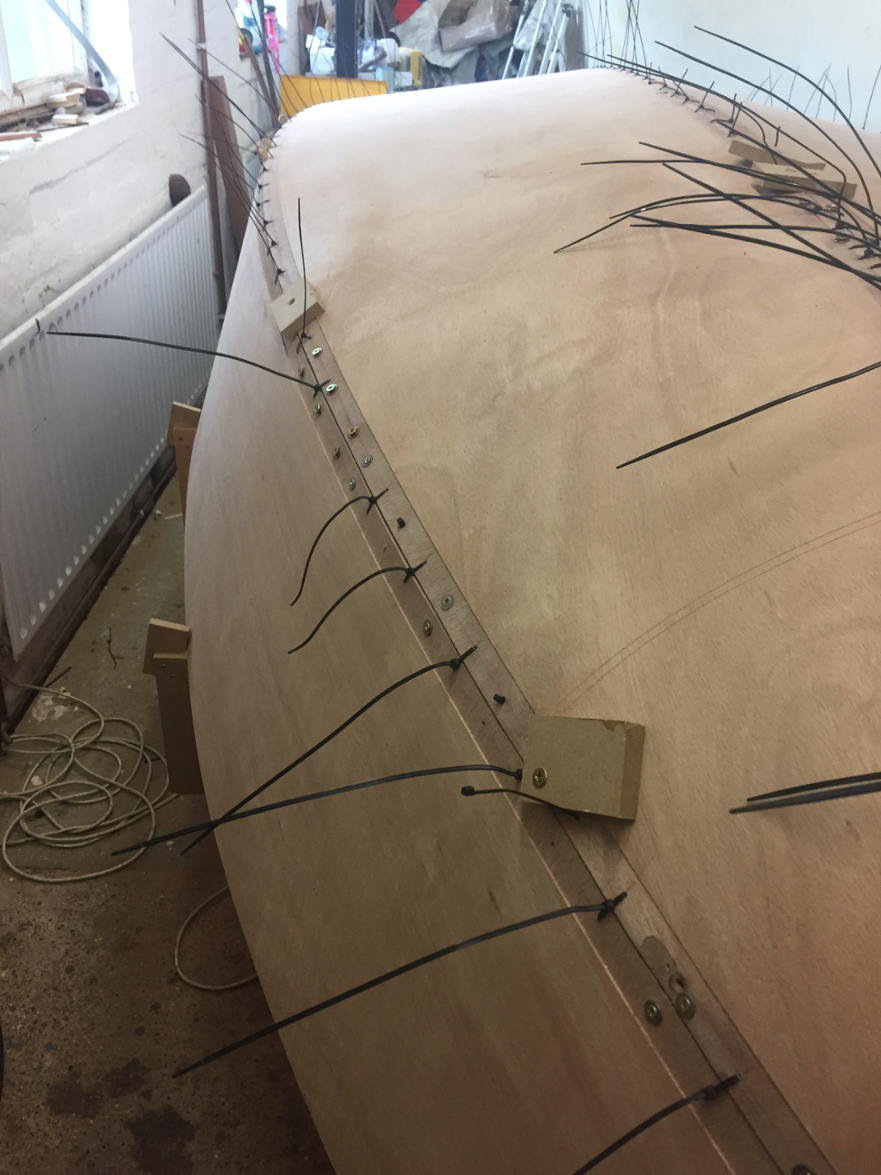
At this stage check the all the chines are smooth curves by eyeing along the chines. Adjust the cable ties if needed to create a smooth curve.